Exporting tracked time reports
Export tracked time reports for further analysis into time spent across activities, projects and clients

Exporting tracked time reports is an essential task for businesses and individuals looking to manage their time effectively, analyze productivity, and generate invoices or reports for clients.
With Jibble’s time tracking software, you can generate reports of tracked time that provide a detailed overview of tracked hours and total billable amounts dedicated to various activities, projects, and clients.
This feature can be found under the Reports tab on both Jibble’s web app and mobile app. To learn more about report exports on the mobile app, check out our guide on exporting reports via the mobile app. Exports are available to owners, admins & managers and are available on the Premium and Ultimate plans.
This article covers:
How to export tracked time reports
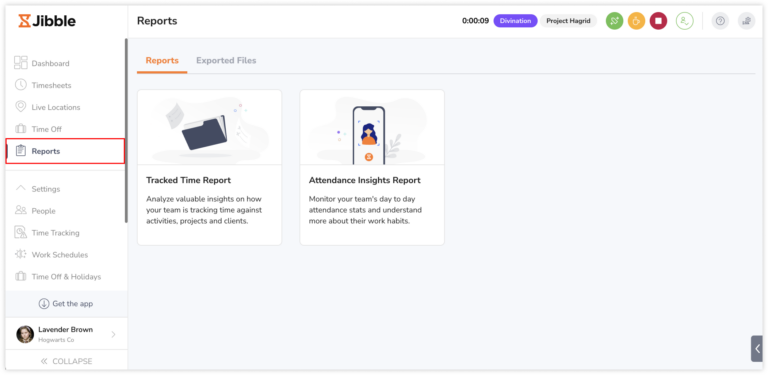
- Go to Reports.

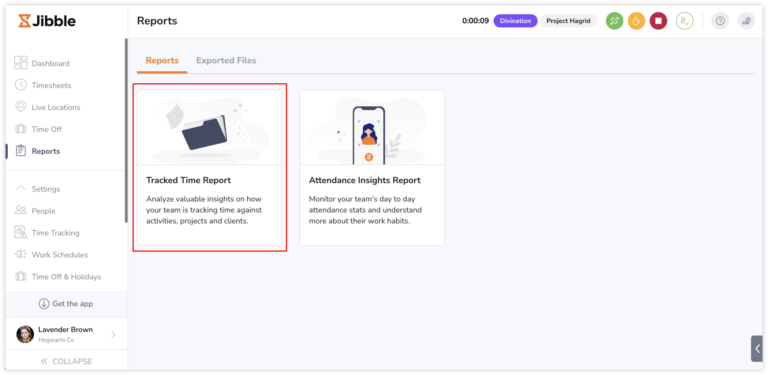
- Select Tracked Time Report.
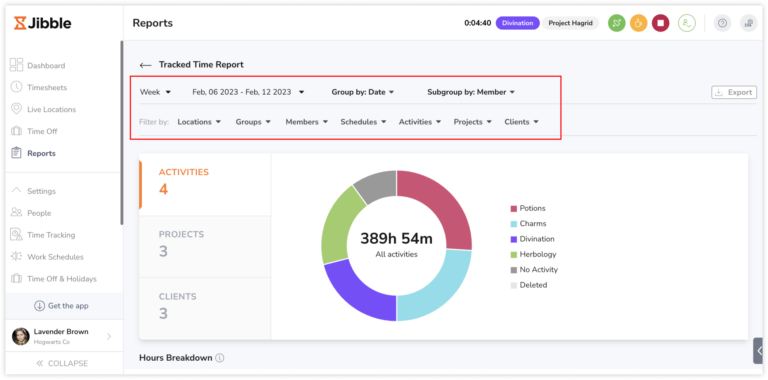
- In the report overview, you can specify a date range, choose group and subgroup options, and apply filters for specific details if needed.
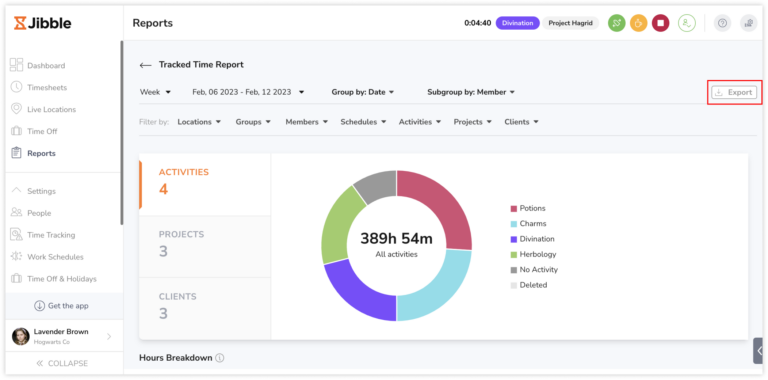
- Click on the Export button.Note: Filters applied on the report overview will be carried over to the export screen. You can keep these selections or clear them and adjust filters before exporting the report.
- On the export sidebar, select a file format. This could be in either CSV or XLS format.
- Under the data to export section, you’ll see two options – “Use applied filters” and “Select filters”.
- Select “Use applied filters” if you want to transfer the filters from the report overview to the export. You can still modify the filters before finalizing the export.
- If you prefer to start fresh with new filter selections, click on “Select filters“.
- Select the checkbox for Time entries list to export raw time entries as an additional file.
- If you chose “Select filters” in step 8, you can then select the date range you wish to export time data for.
- Pick a “Group by” and “Subgroup by” option. By default, the export is grouped by Date and subgrouped by Member.
- Filter for specific types of data, if required. If no filters are selected, all data will be exported.
- Select a time format and duration format that align with your needs.
- Once all the necessary selections have been made, click on Export.
 Note: Filters applied on the report overview will be carried over to the export screen. You can keep these selections or clear them and adjust filters before exporting the report.
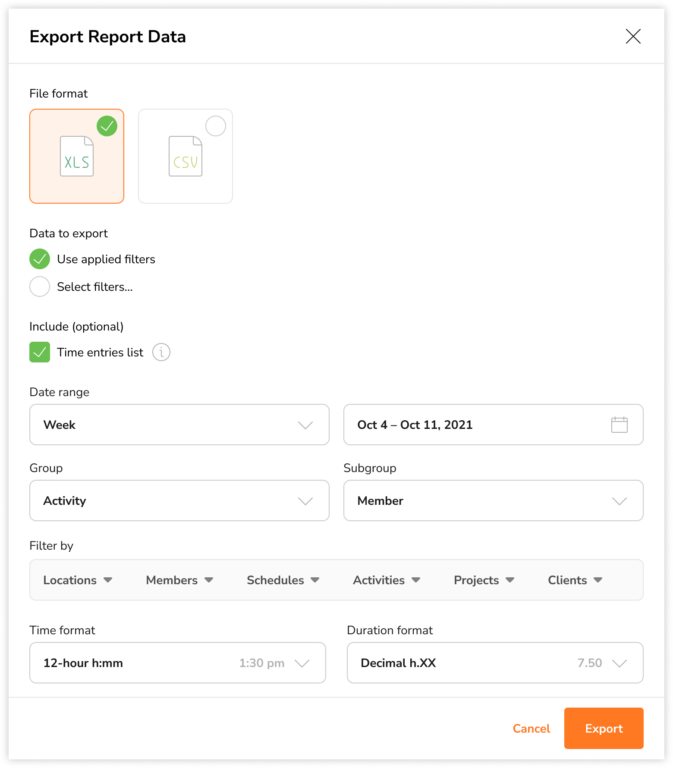
Note: The default file exported is the team tracked time summary report. If you want to include additional optional data in the export, you can choose the available options.
Analyzing tracked time reports
Depending on the data selections you’ve made for export, you will receive one or more of the following files. By default, you will receive the Team Tracked Time Summary report, which displays a breakdown of hours tracked by your entire team within a single sheet.
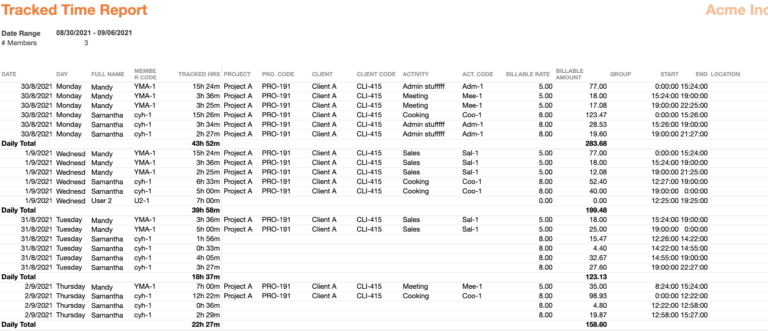
You also have the flexibility to select a specific group and subgroup type for organizing data and gaining a deeper understanding of the relationships between various components. For more information, check out analyzing hours with Tracked Time reports.
Additionally, when exporting tracked time reports, you can opt to include an optional file:
-
Time entries list (Raw time entries)
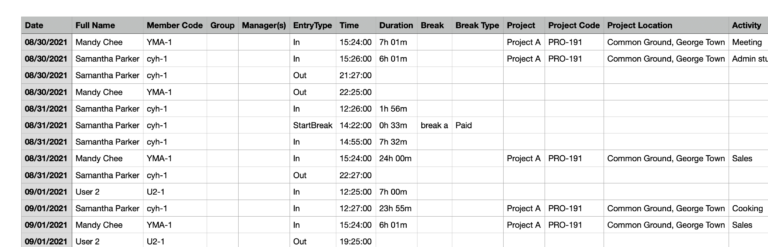
This detailed file offers information about each employee’s individual time entries, including data on projects, activities, notes, clock-in devices, clock-in locations, and more. For a comprehensive description of what’s included in the time entries list, check out our article on the different types of reports that can be exported.